

article number
532013
Brodit fixed install. holder Motorola/Symbol MC55/MC65/MC67
RRP
€108.95
Free shipping
from €125
from €125
Professional advice
& custom solutions
& custom solutions
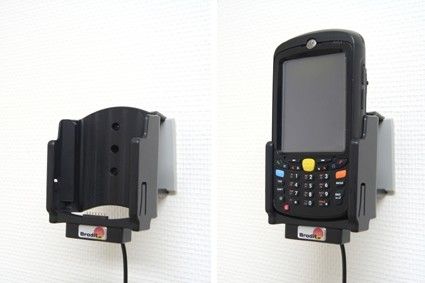
The cables are to be connected inside the dashboard, this gives a discreet, neat installation without cables hanging over the interior. The charging device is integrated in the holder itself, so there is no large charging box on the cable.
12/24 Volt. The product is E-approved. Connect the power cable with a 2 A fuse. 2 A charger. Professional installation recommended.
The holder is attached onto a tilt swivel and can be adjusted in order to avoid light reflection. The holder fits devices both with standard and extended battery. Attach onto ProClip Mounting Platform.
| Accessory brand | Brodit |
|---|---|
| Barcode | 7320285320130 |
| Recommended retail price incl. VAT | €108.95 |
| Device with or without case | Without case |
| Holder feature | Device-specific |
| Cable / Qi / charger type / connnector | Molex, fixed install |
| Input Voltage | 12/24V geschikt |
| Voltage (output) | QC - QuickCharge |
| Max Amperage | 3,0 Amp |
| Montage standaard | AMPS |
| Device holder lockable? | no |
| Color | black |
| Productinfo | Brodit houder |
| Product installation | Mount the holder on a ProClip in your vehicle. A detailed installation manual is included in the product packaging |
| Product suitable for info | In the Compatibility tab, check whether your smartdevice is suitable or listed for this holder |
Show more +
Show less -
Show more +
Show less -
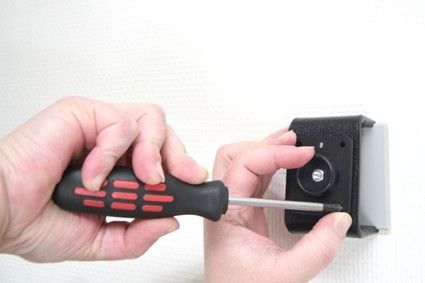
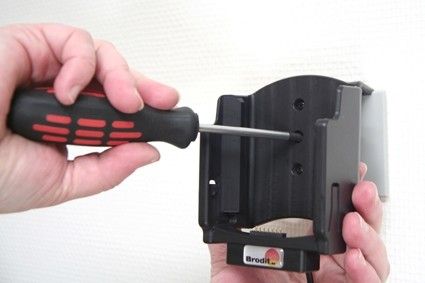
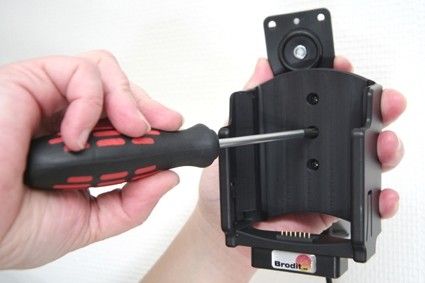
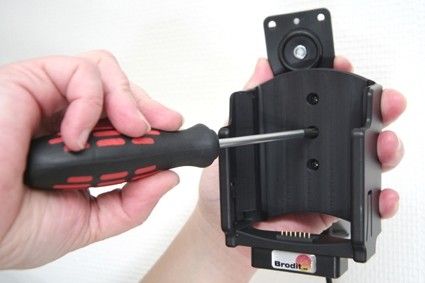
1. Loosen the screw in the center of the holder so you can remove the tilt swivel attaching plate on the back.
2. Place the attaching plate onto the desired position. Screw the attaching plate into place with the enclosed screws.